Home > Improvement Zone > Pyraminx Guides > How to Solve a Pyraminx

How to Solve a Pyraminx
Do you want to learn how to solve a Pyraminx? Then you are on the right page. We have personally helped thousands of cubers solve their Pyraminx. We are going to assume that you have no previous knowledge of solving a Pyraminx or any type of pyramid shaped puzzle and make this a completely beginner focused tutorial.
Notation
Learn the notation of the Pyraminx Puzzle. This is a very important step in learning how to solve a Pyraminx.
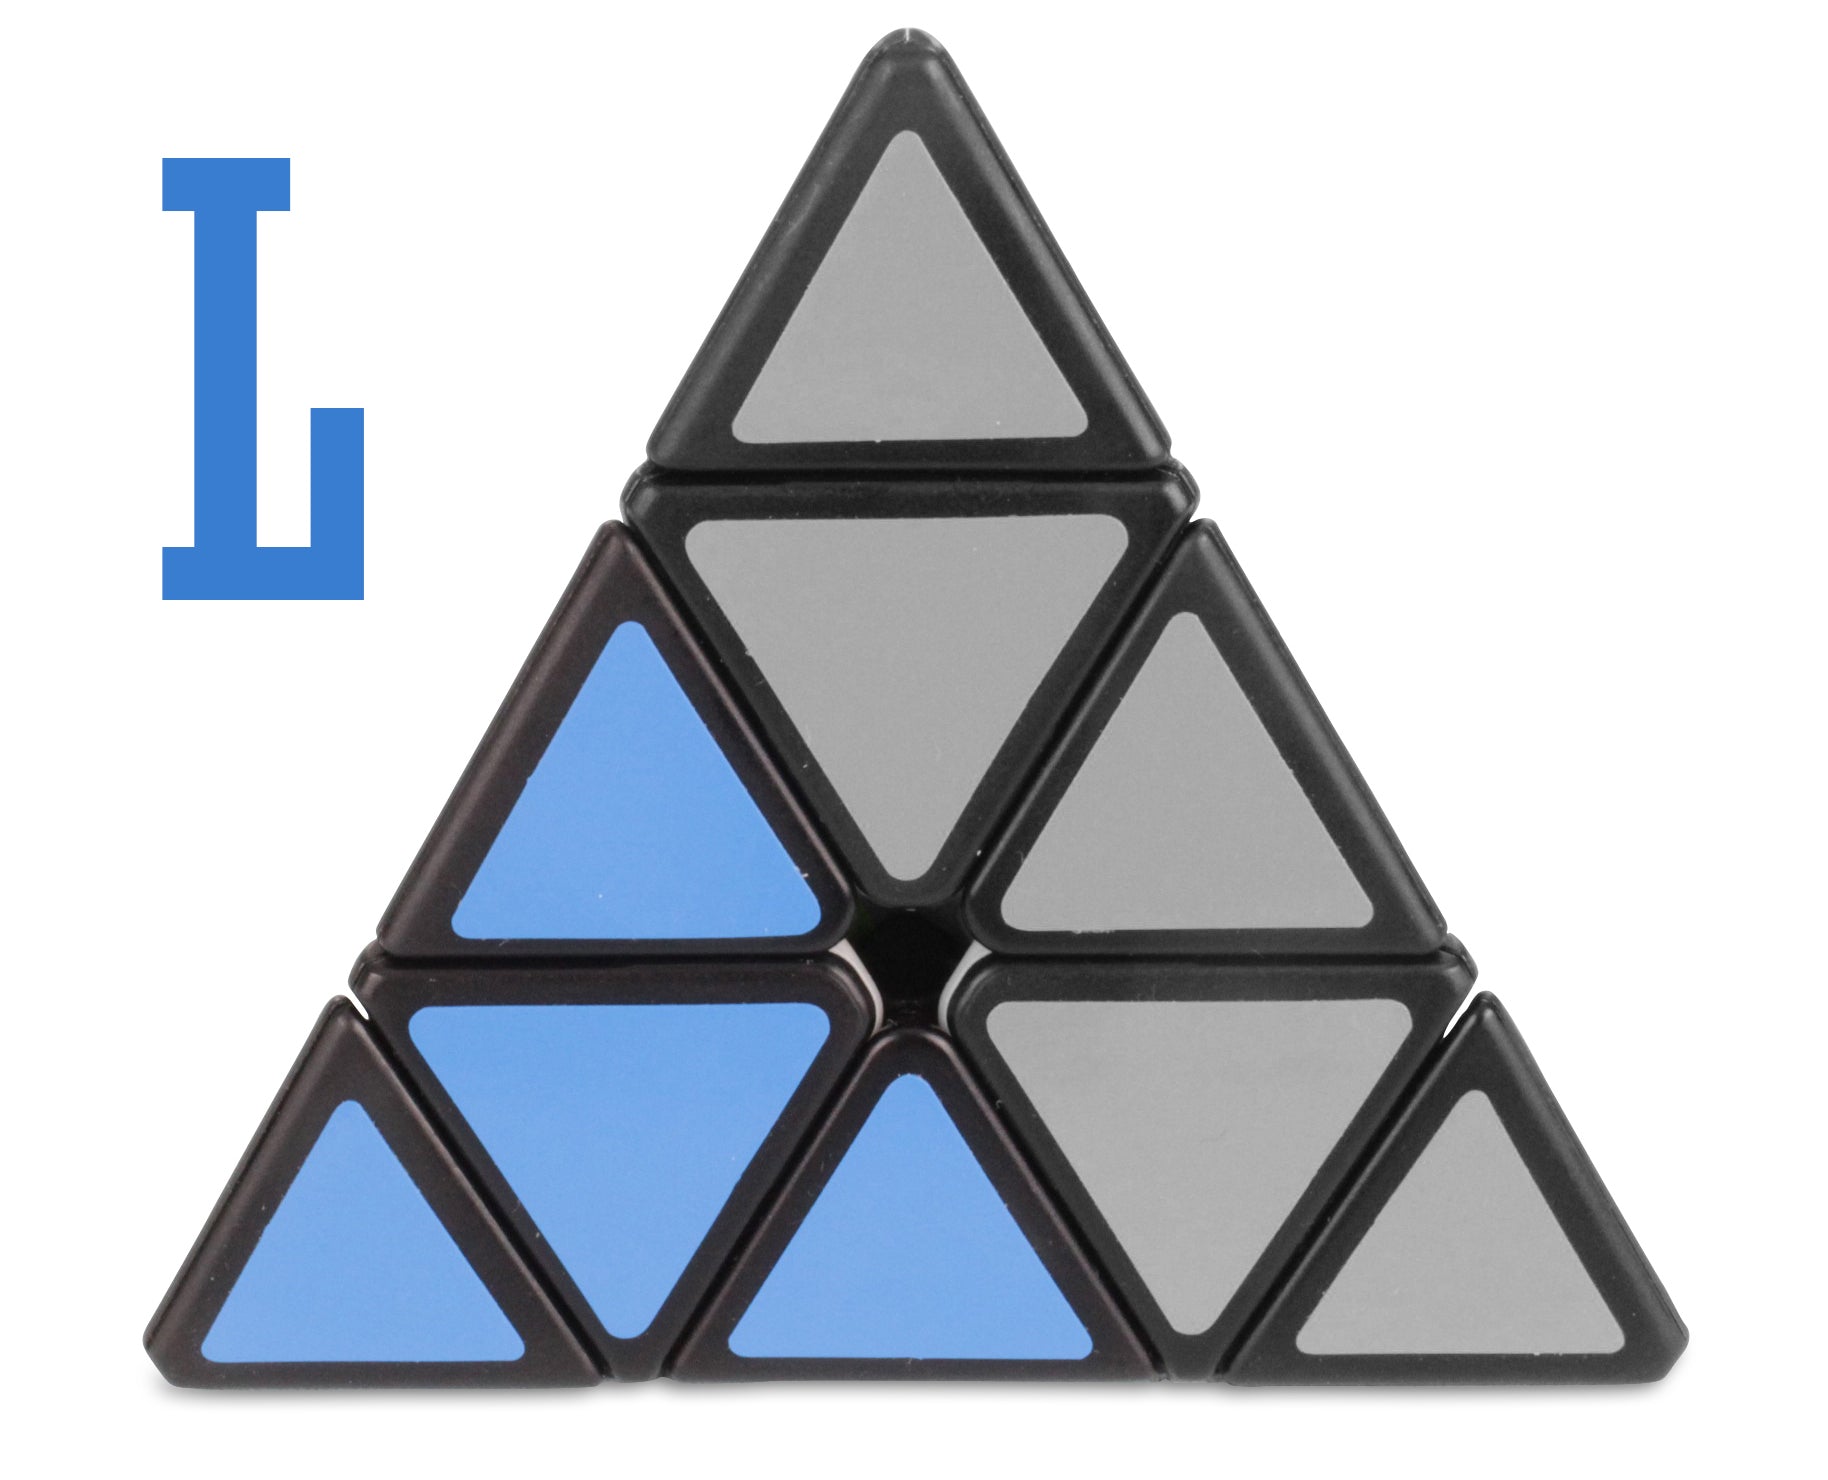
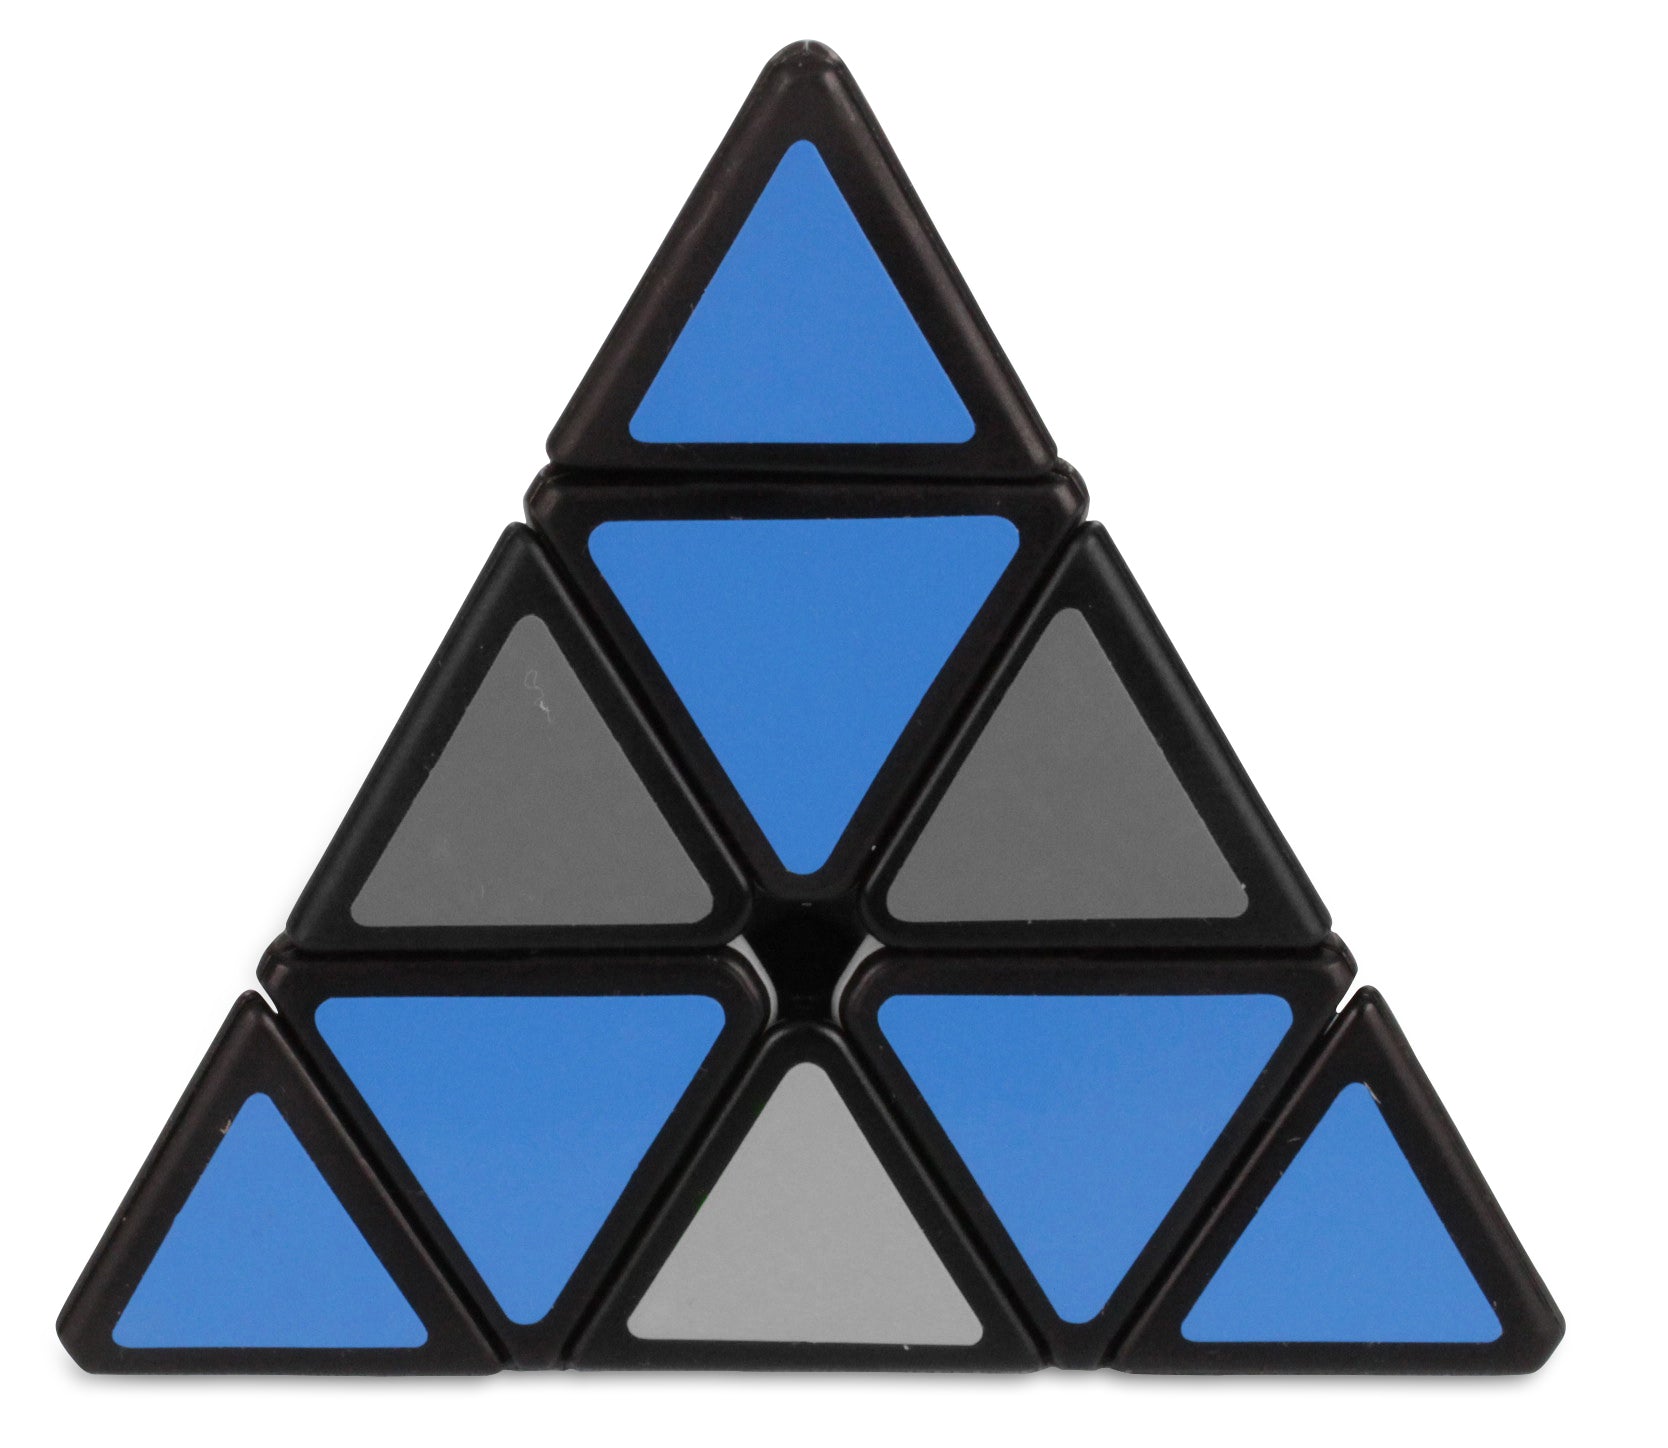
L
Turn the Left part of the Pyraminx (as shown in BLUE in the image above).
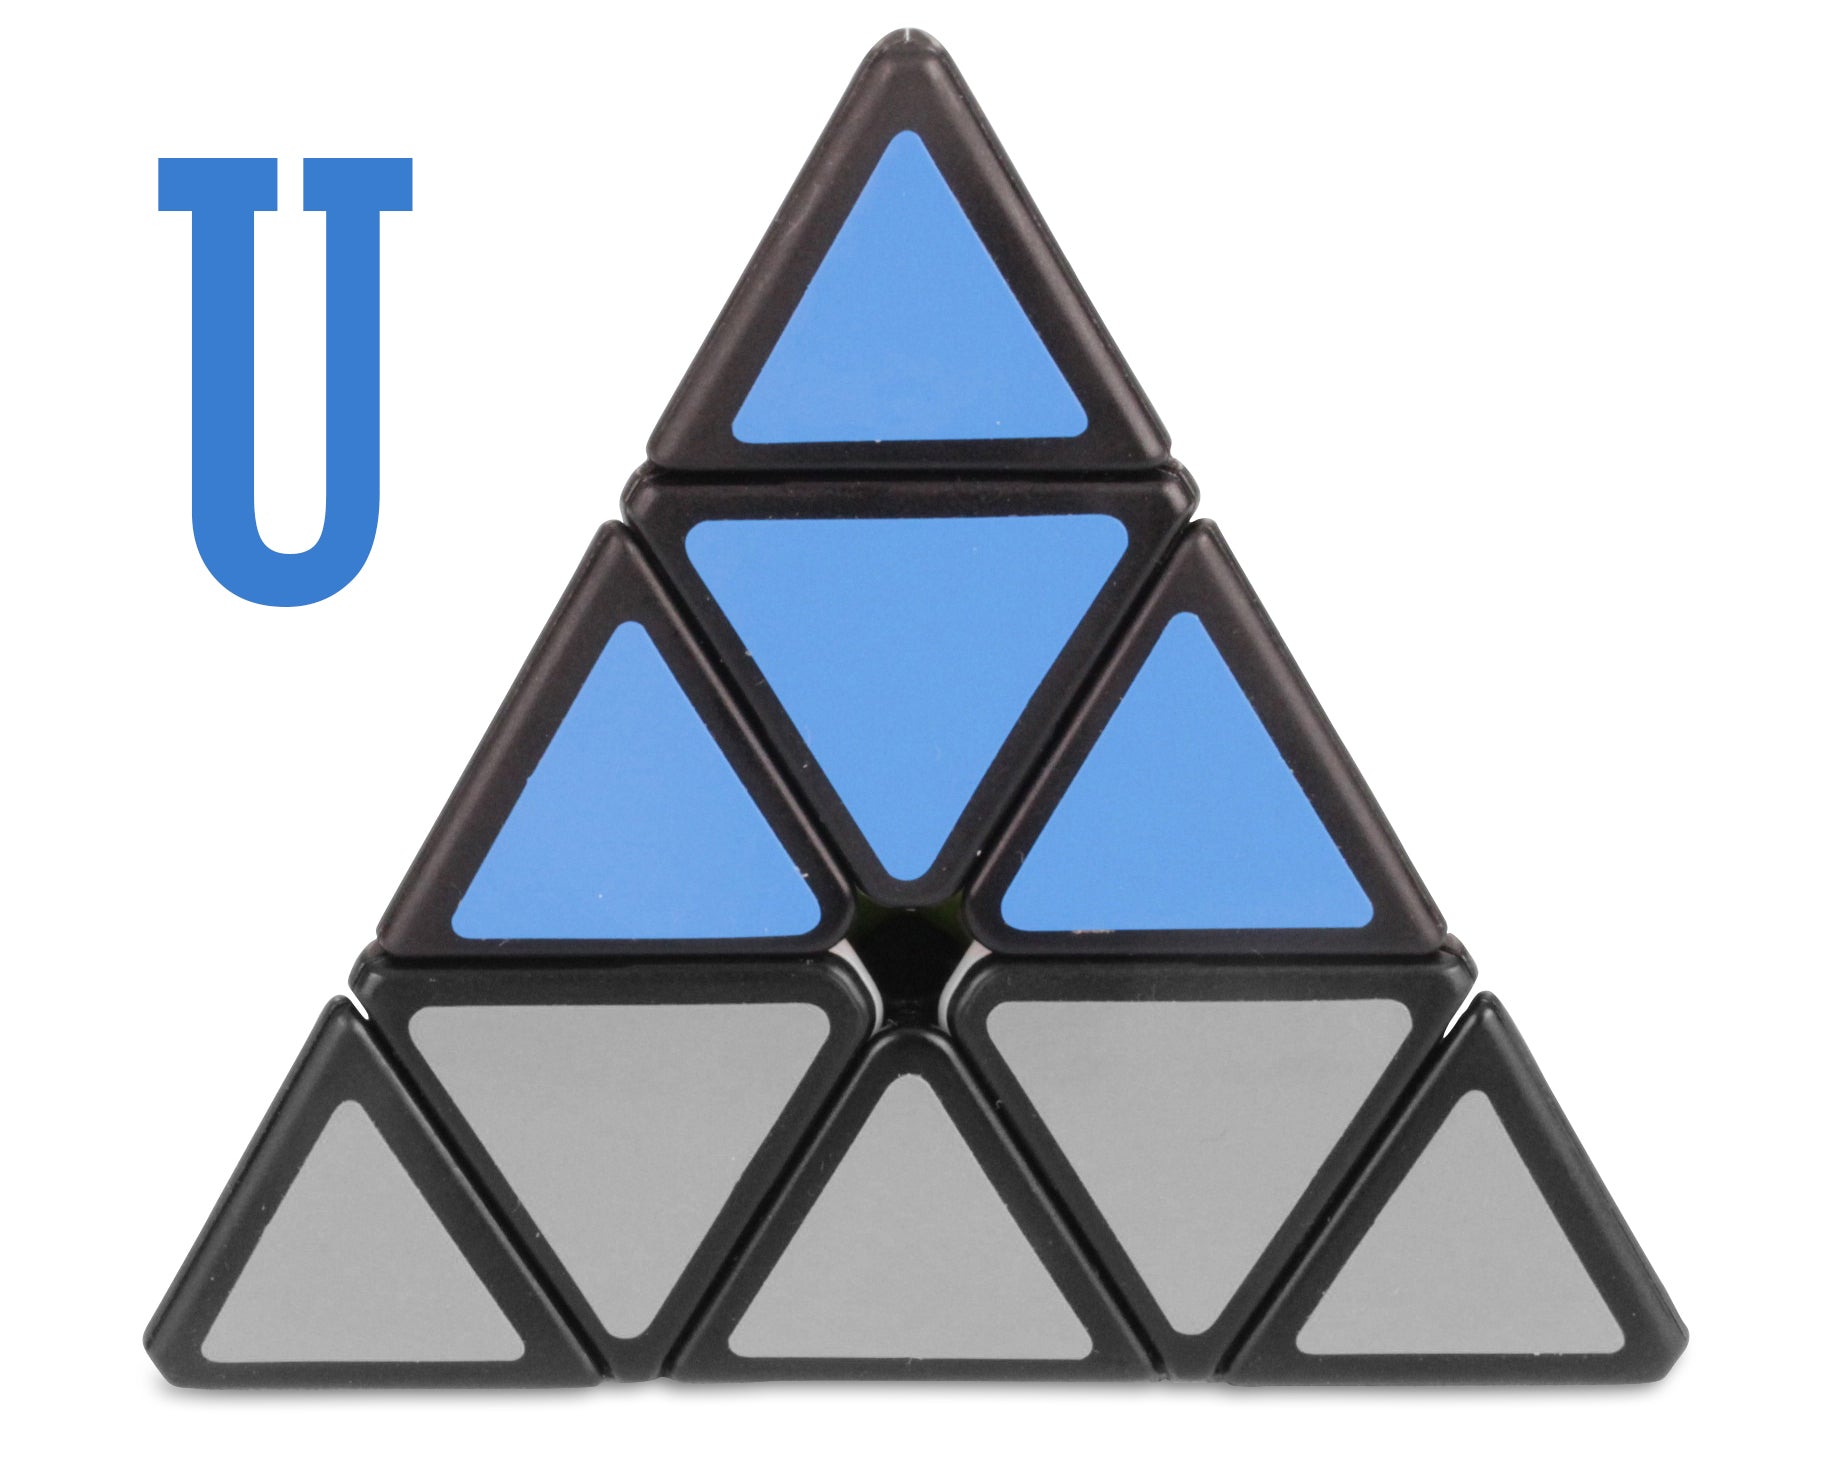
U
Turn the Upper part of the Pyraminx (as shown in BLUE in the image above).
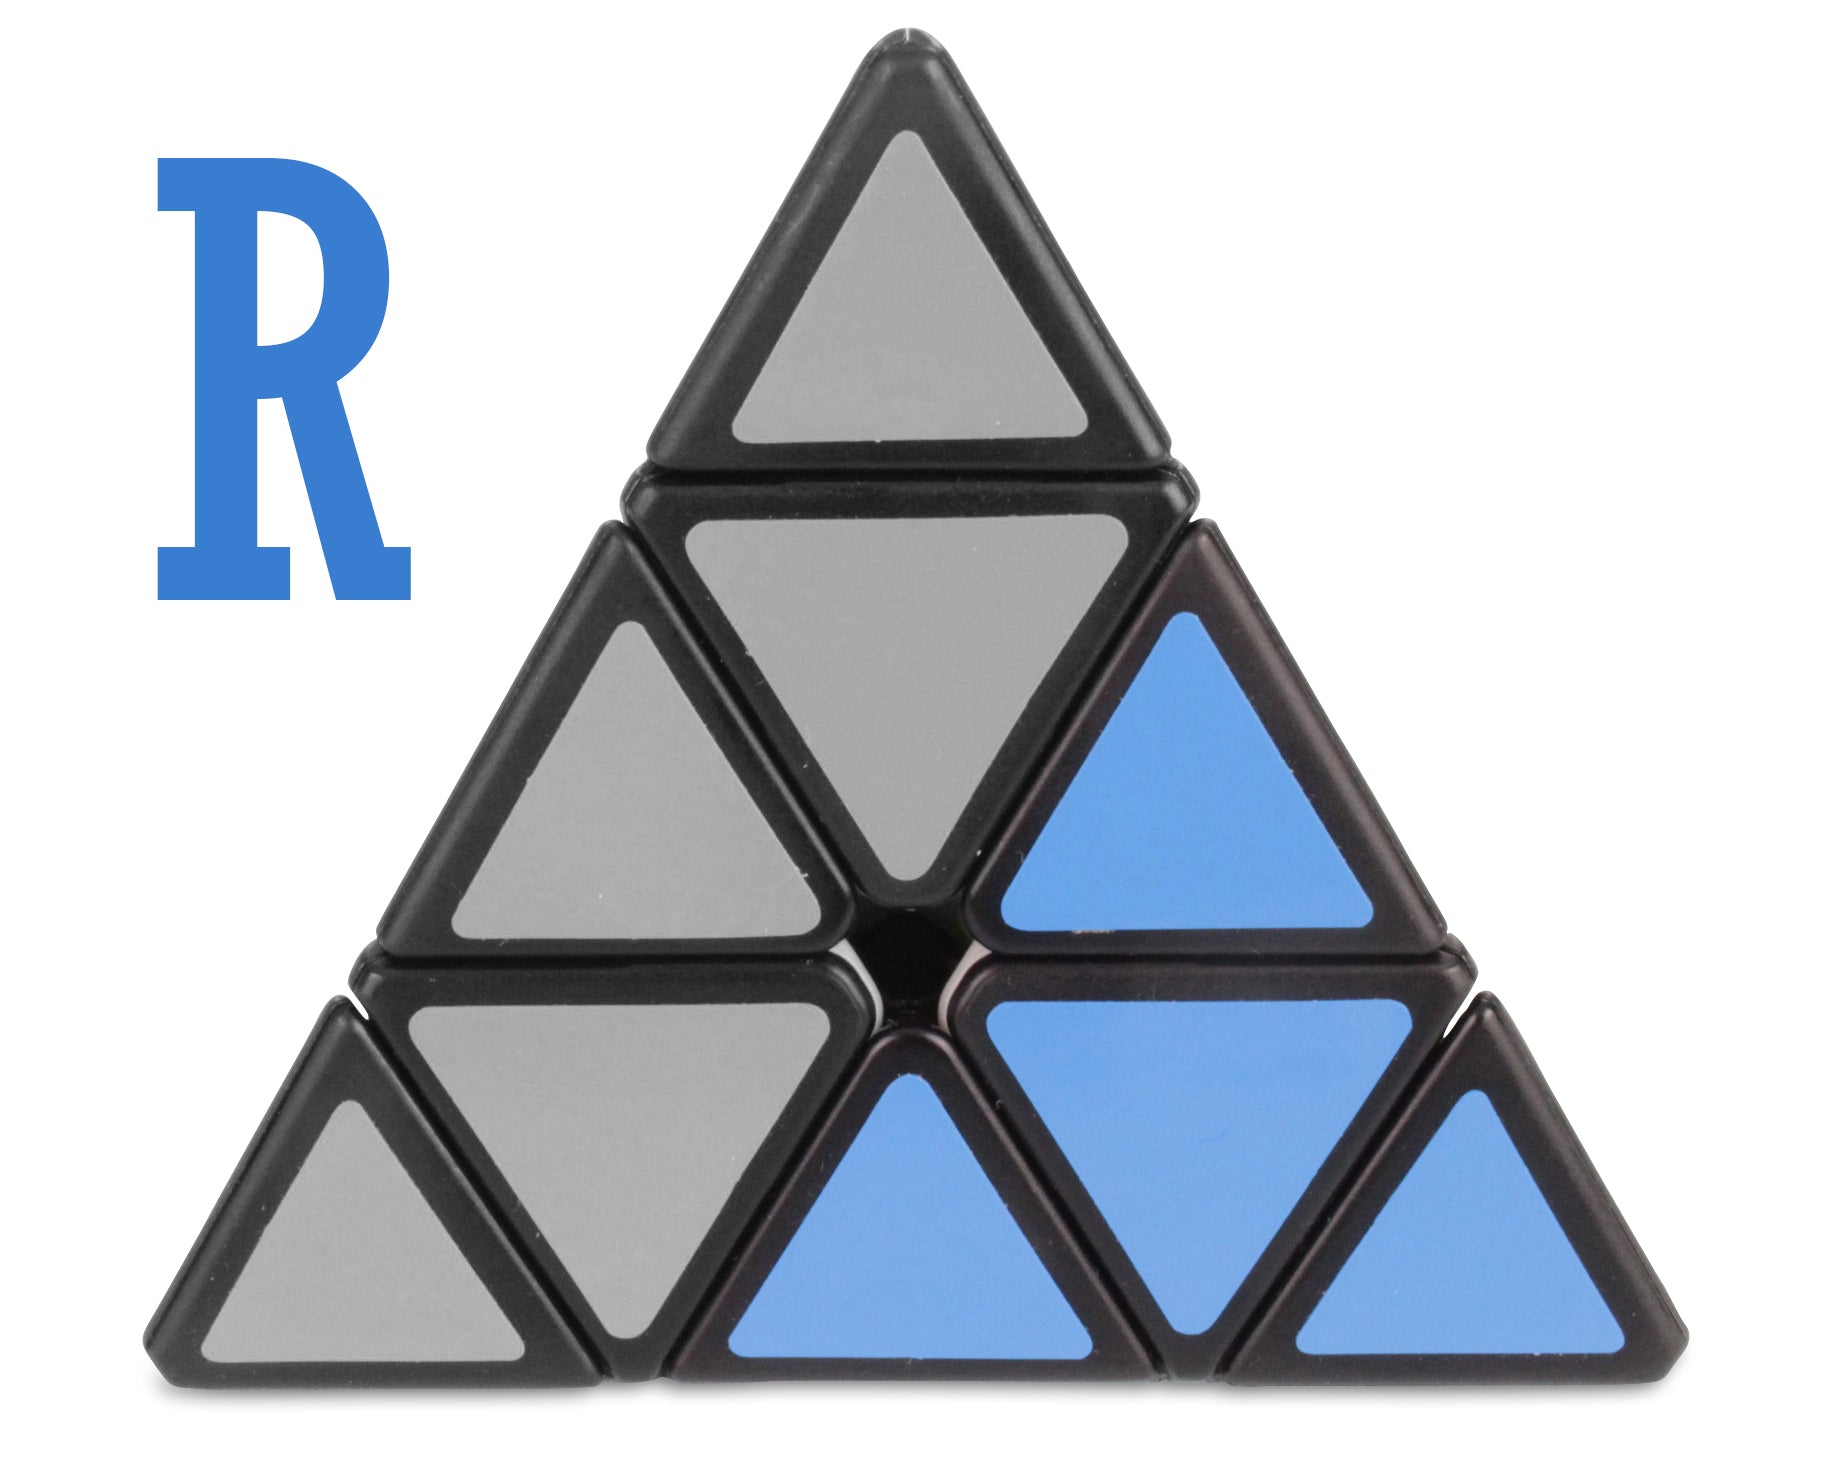
R
Turn the Right part of the Pyraminx (as shown in BLUE in the image above).
There are 3 basic notations for the Pyraminx puzzle (using this beginners method). Once you start to get a little better at solving the Pyraminx you can move on to learn the Keyhole method (which includes the back layer too and "B" included in the notations, but we will get to that one day).
L, R and U mean to rotate that part of the puzzle Clockwise.
L', R' and U' mean to rotate that part of the puzzle Counter-Clockwise (notice the apostrophe ').
Pyraminx Notation - Video Guide
If the above text on learning the correct notation for the Pyraminx confuses you then simply watch the video we have made to the left and see if that clears up any confusion.
As soon as you have learnt the correct notation and feel like you are ready to move on, proceed to step 1.
Step 1 - Solving the Tips
In Step 1 we will learn how to solve the tips of the Pyraminx. This is a VERY easy step and does not really warrant much of a guide.
Pyraminx Step 1 - Video Guide
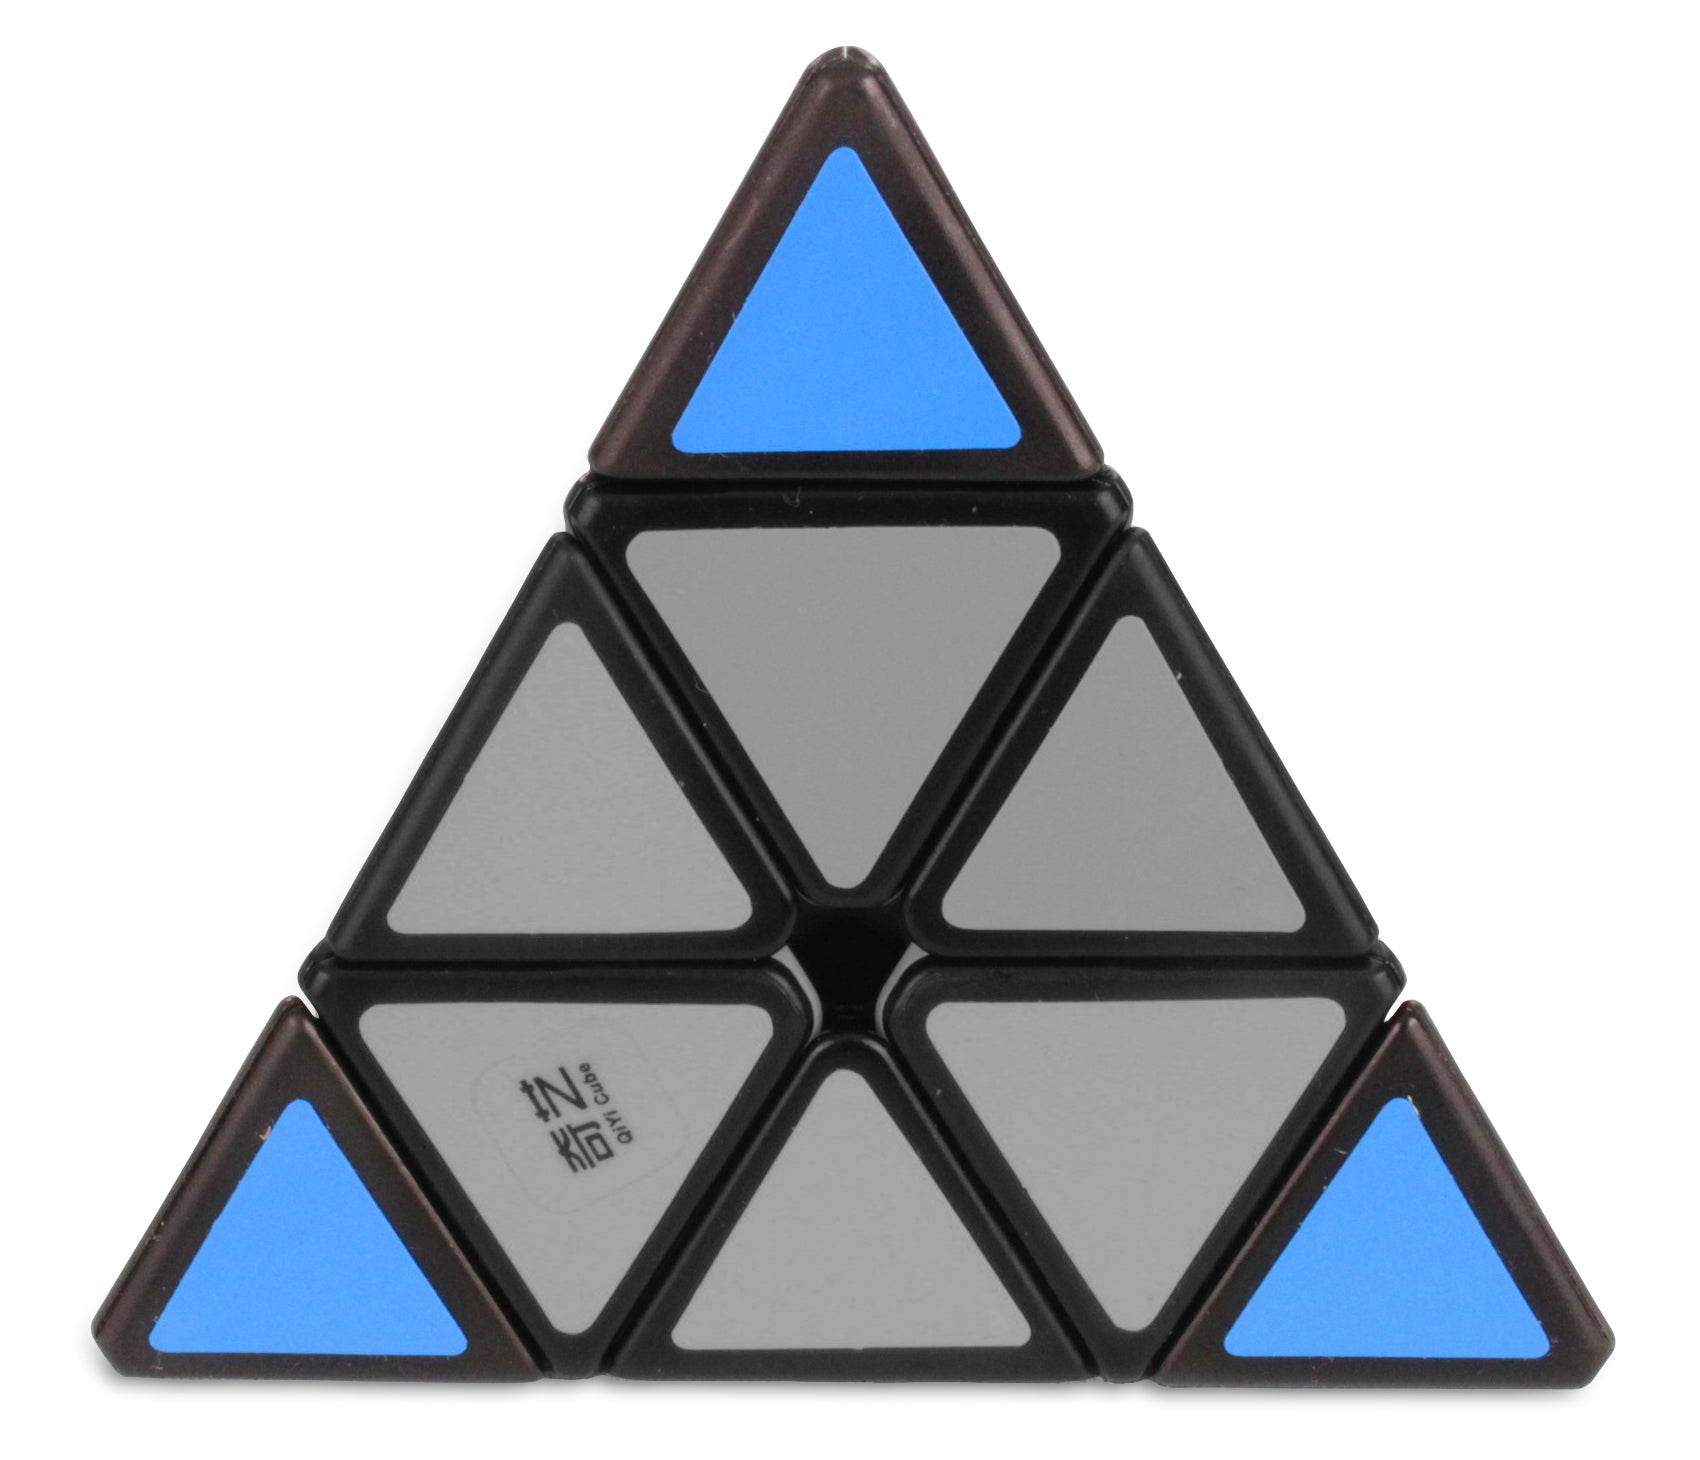
Simply look around your puzzle and match 3 tips. This is extremely easy and can be done in seconds with practise. Once you have completed this step you can move on to step 2 were we will learn how to solve a little bit more of the Pyraminx.
Step 2 - Solving the Bottom Layer
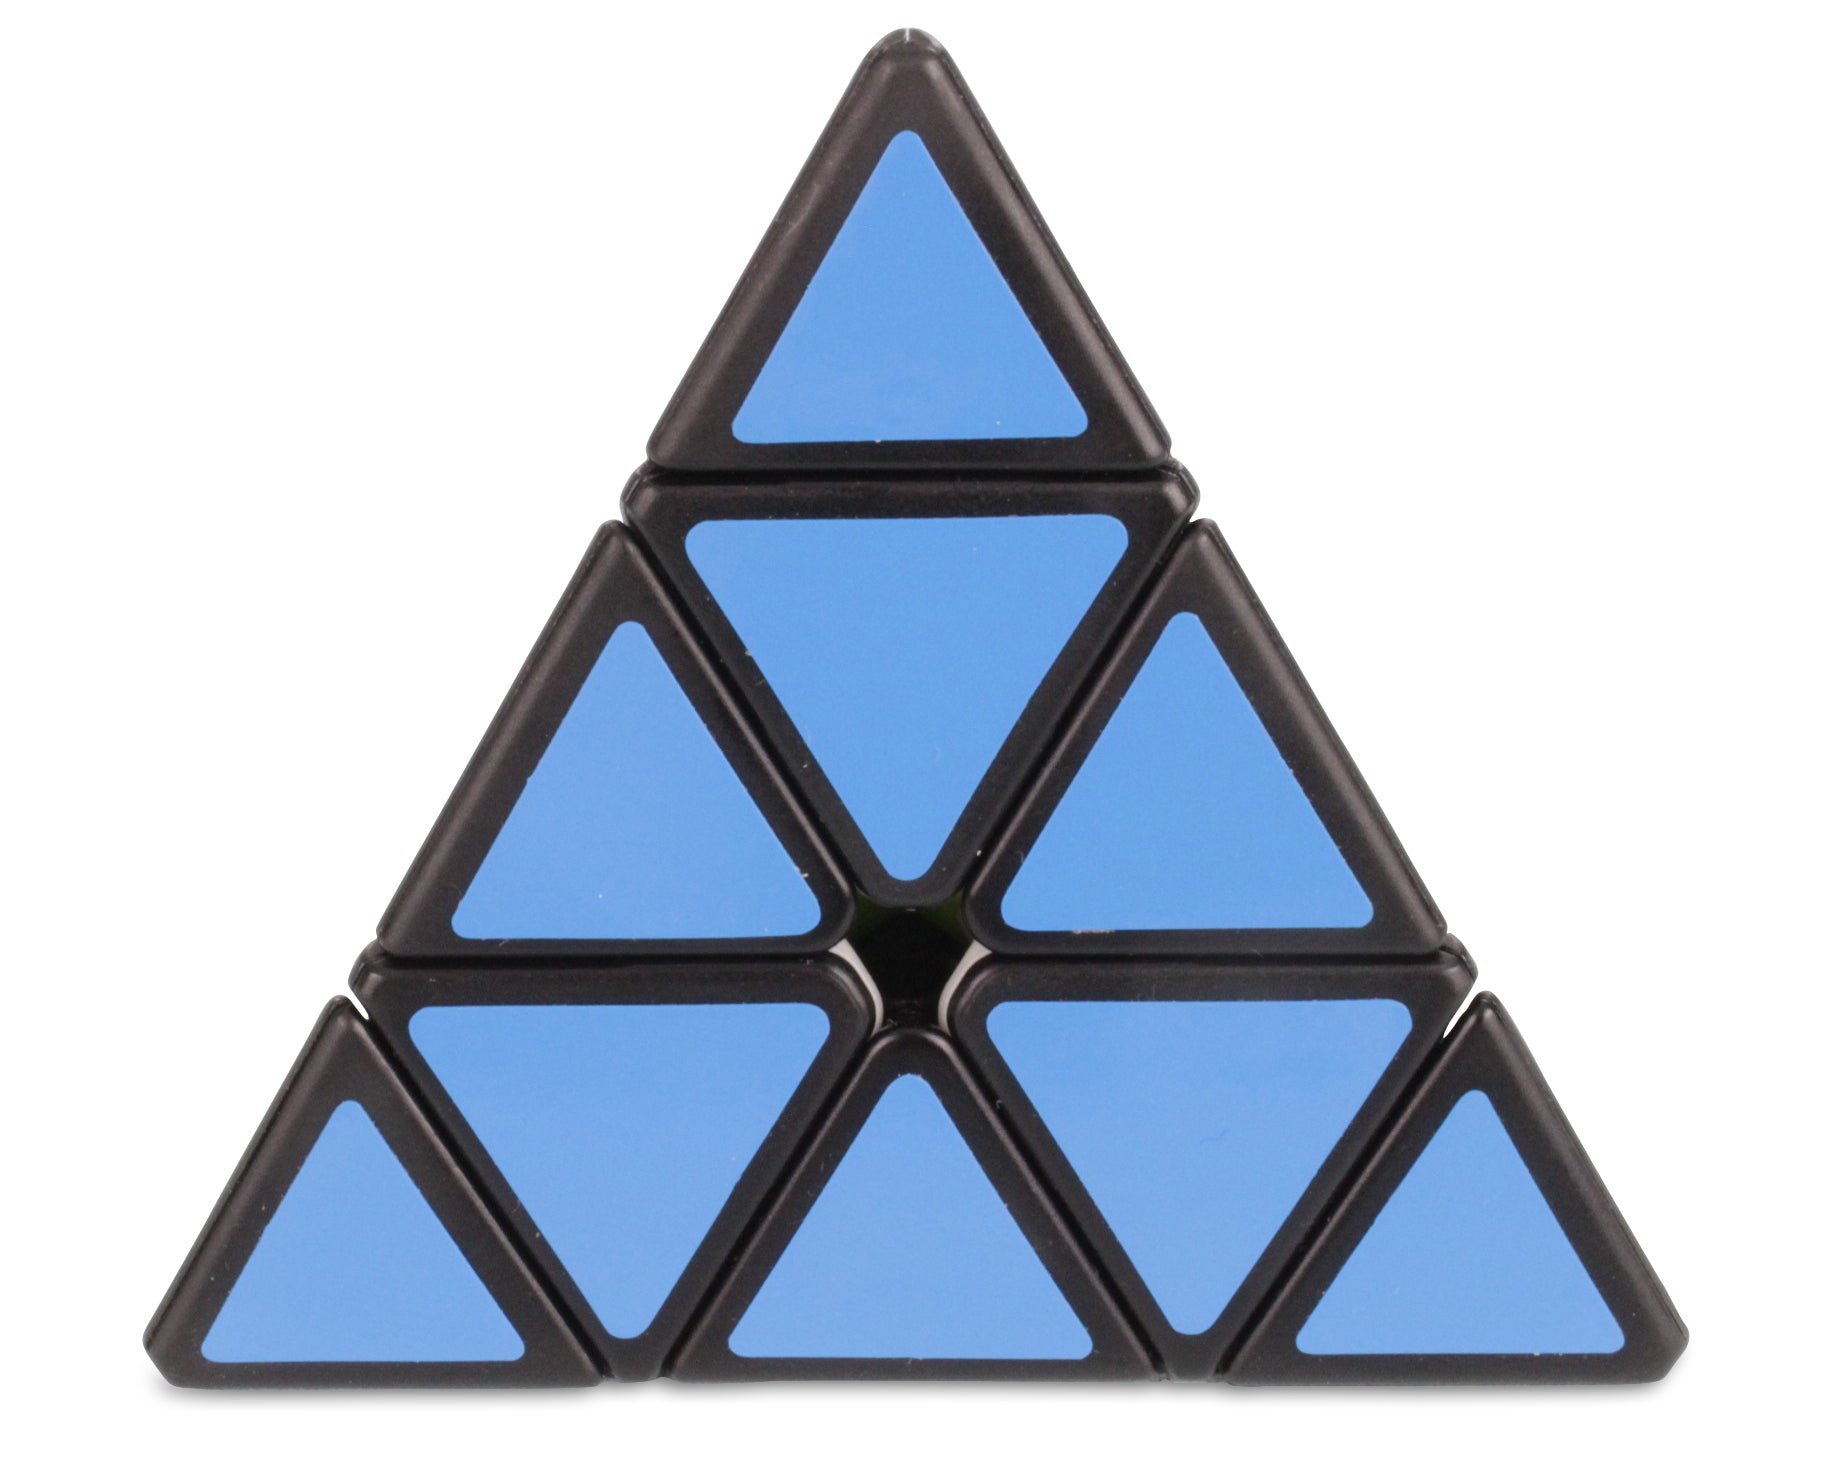
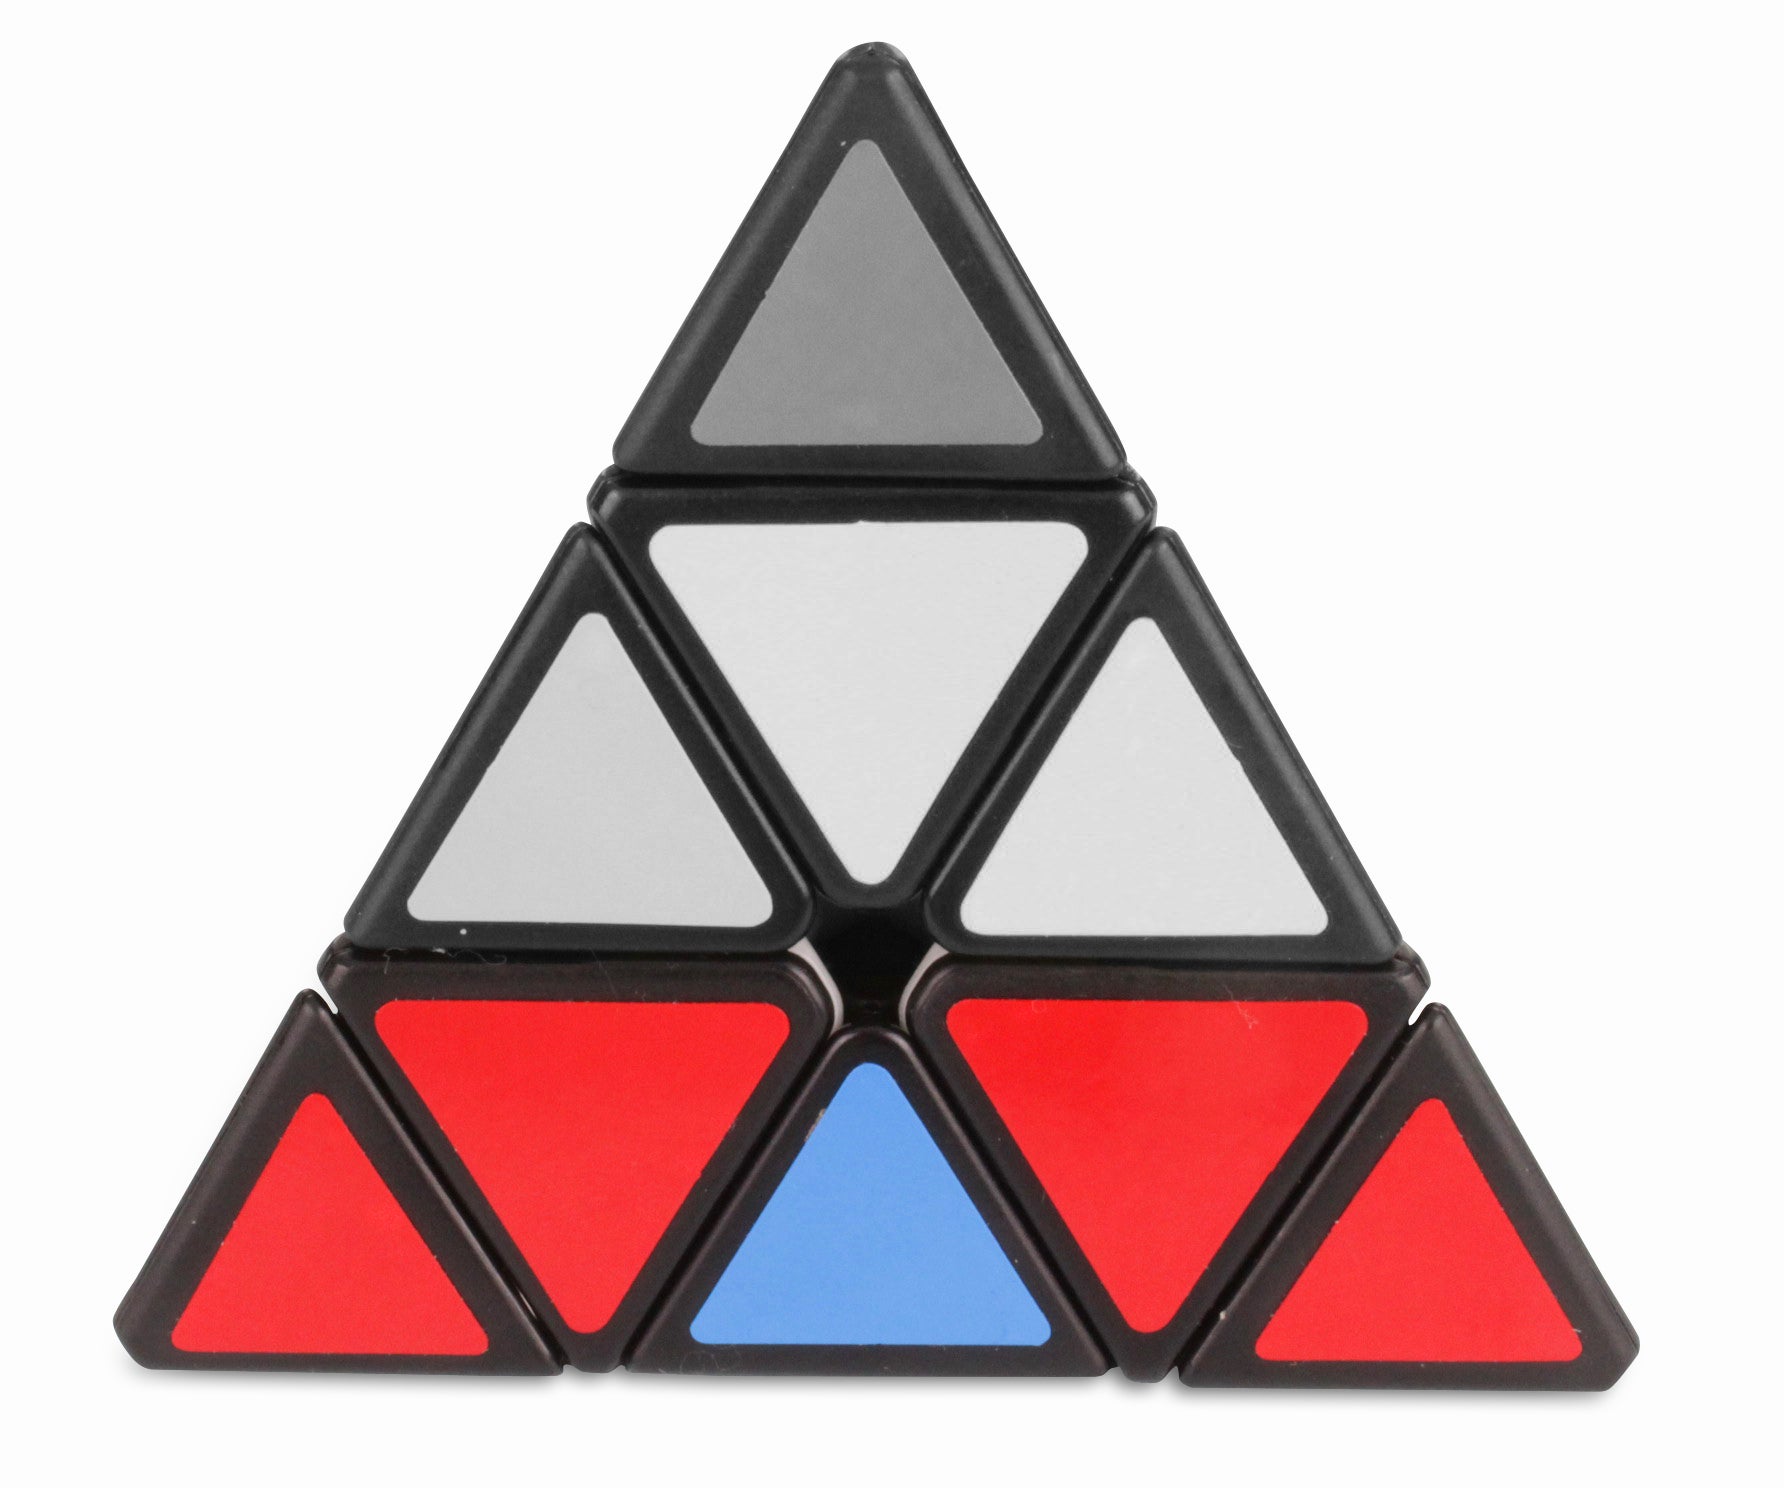
Simply turn the 3 layers (U, R and L) until the inner blue pieces are solved like the image to the left. You may have to twist the tips back around after this step.
Pyraminx Step 2 - Video Guide
This is again, a very easy step. We could have combined Step 1 and 2 into 1 step but we think it's easier to completely split it up. If you are struggling with this step just watch the video (left) and hopefully it will shed some light on the correct procedure. Once your puzzle looks like the image above you can move on to step 3.
Step 3 - Finishing the Bottom Layer
Now that we have the edges and tips solved we can move on to solving the rest of the blue side. We have broken this down into easy to follow bullet points.
1. Place your Pyraminx on a table of flat surface with the blue side down.
2. The tips show which colour that face should be (if both tips facing you on the bottom layer are red, that is the red side and so on).
3. With one hand, spin your whole Pyraminx until you find the blue and red piece.
4. You will have one of 3 cases, Use the chart below to solve this Blue/Red piece.5. Repeat the above steps with the other Blue/Yellow and Blue/Green pieces.
Case 1:
The Blue/Red piece to the left.
U' L' U L
Case 2:
The Blue/Red piece to the right.
U R U' R'
Case 3:
The Blue/Red piece needs to be flipped.
R U R' (then case 1)
Pyraminx Step 3 - Video Guide
This step is a little bit harder than the first 2 steps, but it is still an easy once you know how to perform the moves correct and understand the process. Simply watch the video if you don't understand the above text guide.
Step 4 - The Second Layer
In step 4 we turn our attention to the 2nd layer of the Pyraminx. I hope so far that you find this guide easy to use and understand. Please do contact us if you are having any problems at all and we will try our best to help you solve your Pyraminx with 1 on 1 help.
Anyway, let's move on.
1. Place your Pyraminx back onto a table with the blue side down.
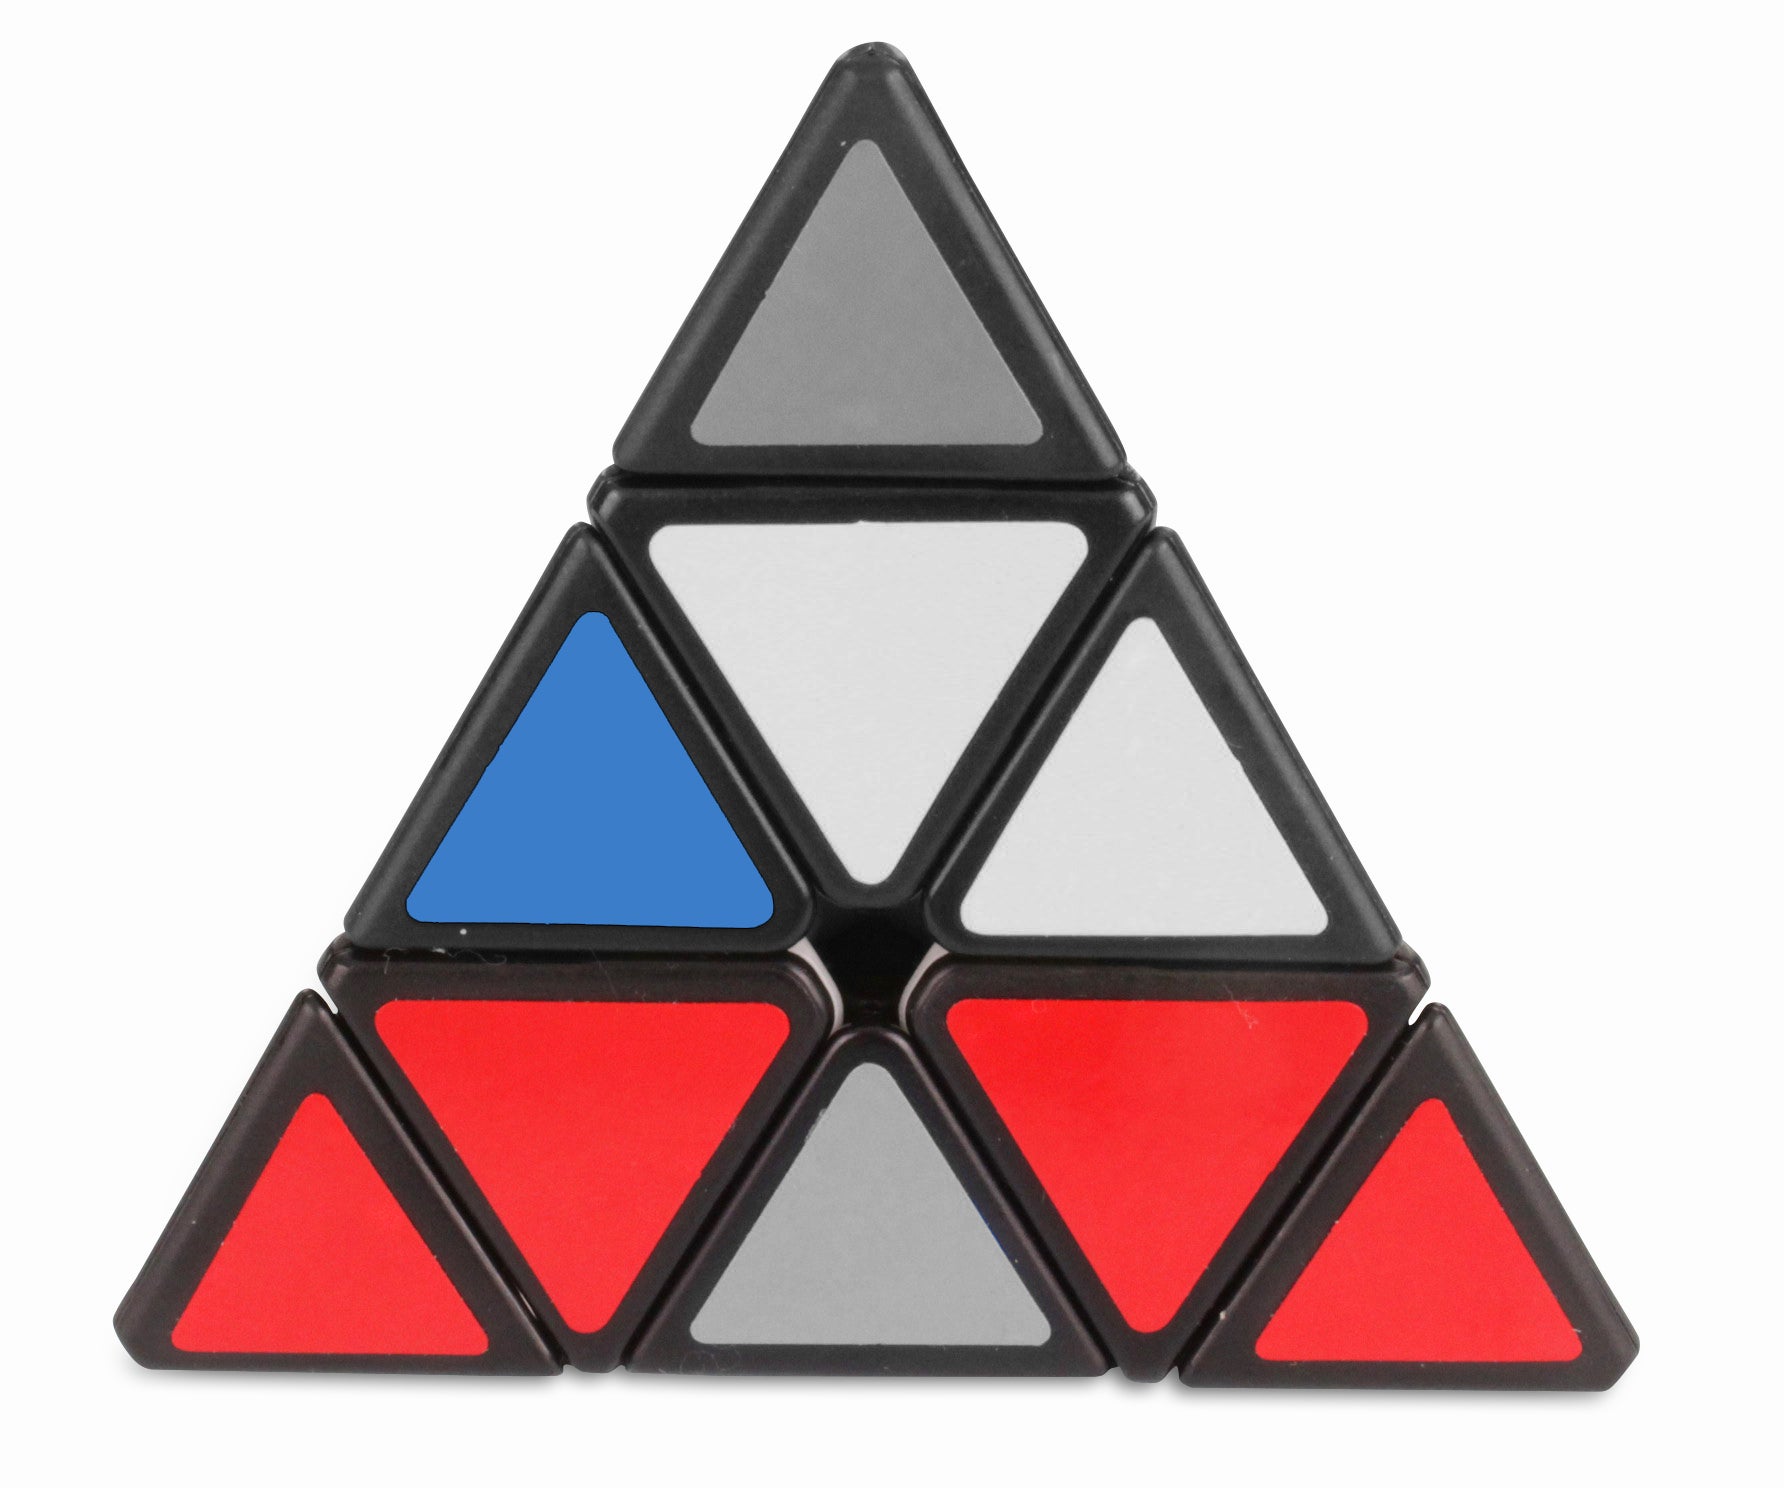
2. With any colour facing you perform U moves until one of the pieces on the second layer is in the correct position and at the back of the puzzle (like the image below).

Note: (Make sure the piece at the back on the second layer is in the correct place - shown here by the Yellow/Green piece).
3. In the Image above the Blue face is on a table and we are looking down on the Pyraminx. As you can see the Green/Yellow piece is at the back and in the correct place. The front 2 piece on the second layer (Green/Red & Yellow/Red) just need to be switched.
4. Hold your Pyraminx so the the solved piece is at the back and the 2 pieces to be switched are at the front facing you (blue face still on the bottom) and perform the algorithm: L R' L' R U R U' R'
5. For some of you this will solve your Pyraminx. For other we still have a few more little bits to do.
6. Place your Pyraminx back on the table with the blue side down.
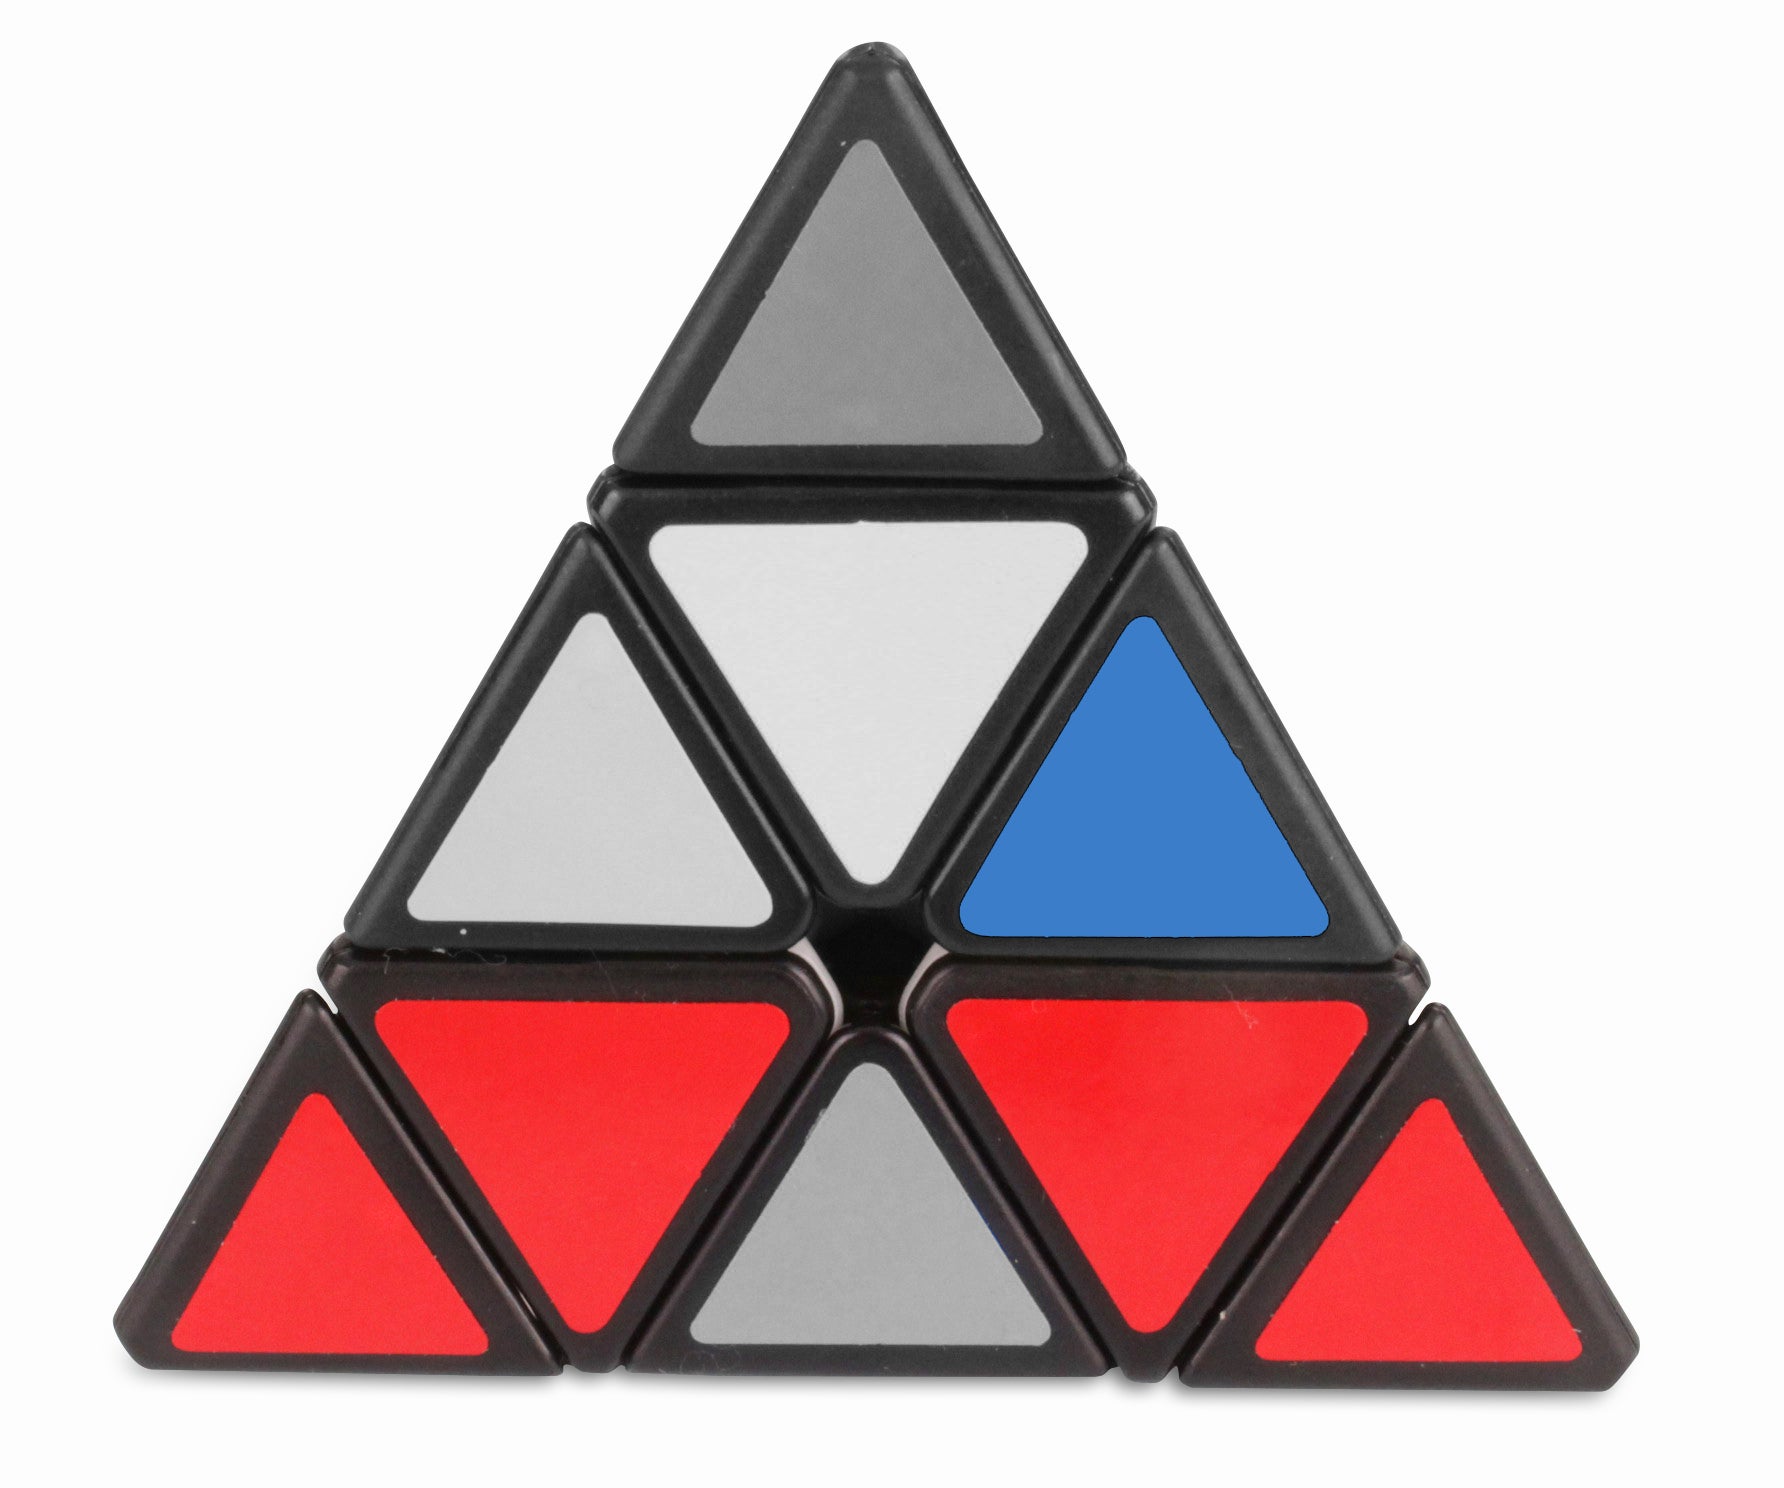
7. Perform U moves until your Pyraminx matches the image below (with only 3 pieces on the 3rd layer which need to be cycled).
Note: (3 Pieces to be cycled - Red/Green/Yellow).
Pyraminx Step 4 - Video Guide
Here we have a little video showing you how to perform all stages of step 4 in an easy to follow video tutorial. If you have an issues with this step just leave us a little note in the comment section below. This is one of the hardest steps in our Pyraminx tutorial guide.
Step 5 - Solving the Rest
This is a very easy step and if you already know how to solve a 3x3 Rubik's Cube then you will recognise the following algorithm. Let's crack on and solve this puzzle!
1. Make sure your blue face is on the bottom of the Pyraminx and your Pyraminx looks like the image above (3 pieces to be cycled on the top layer).
2. Hold your Pyraminx with any face facing you (as long as the blue side is still on the bottom).
if your pieces need to be cycled clockwise we use a different algorithm as to what we use if they need to be cycled anti-clockwise.
3. Use the following algorithms to solve your Pyraminx once you have established if your 3 pieces need to be cycled clockwise or anti-clockwise.
Clockwise - R U R' U R U R'
Anti-Clockwise - L' U' L U' L' U' L
4. Now, you just have to solve any tips they are twisted incorrectly and your Pyraminx should be solved.
Pyraminx Step 5 - Video Guide
Okay, after finishing this step your Pyraminx should be sovled. If it isn't try to go back over the past steps and see where you went wrong. Alternatively, send us a message on support@kewbz.co.uk and we will be happy to help.
If you enjoyed following this guide please do leave a little comment below and share with any cubers/friends that are struggling to solve their Pyraminx :)